

The day has finally arrived! You’re ready to launch your new website and fulfill your wildest ecommerce dreams. There’s just one problem. Despite adding Google Analytics tracking to your site, none of your transactions are being picked up. You start to panic and realize that you’re going to need more help than you originally thought.
After you review your ecommerce implementation, you come up with only two good options:
- You can have your developers recode all the tracking and event tags on your site–which can be costly and time-consuming if the wrong tracking is placed again.
- You can push a data layer and add tags and events inside Google Tag Manager (GTM)–but you still need to know how to code a data layer to capture the data.
What if you could code your own data layers with minimal knowledge or provide reliable tools to your development team to standardize how they build ecommerce data layers?
What Is A Data Layer?
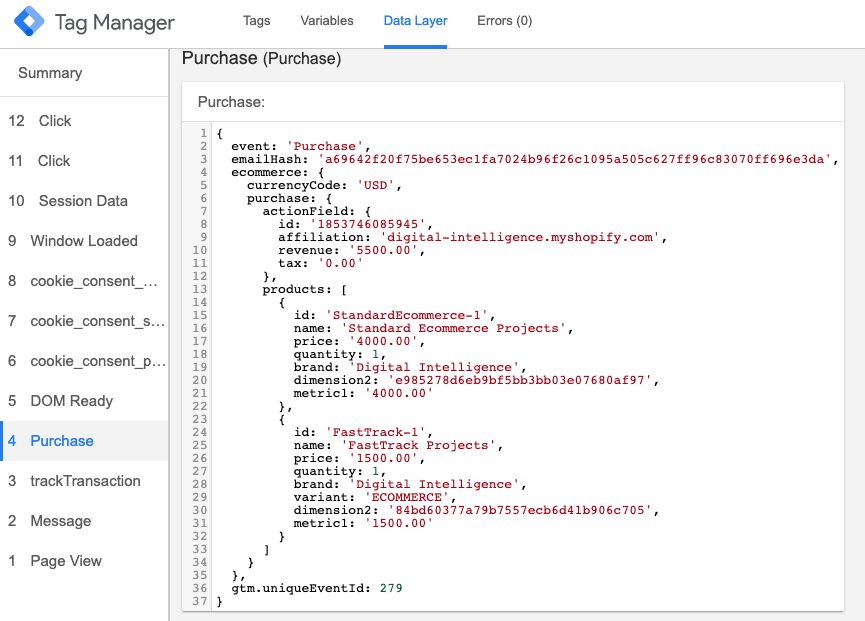
A data layer is a JavaScript object that is used to pass data from your website to your tag management container. You can use this information to populate data into all the different tags, variables, and triggers that are fired from your GTM container.
What makes the data layer so powerful is that not only can your data be used to track standard or enhanced ecommerce, it can also be used to pass transaction data into any platform, unlocking your ability to place your own conversion tags inside GTM.
When the new “Custom Templates” feature was introduced for GTM, we at Wpromote jumped into creating new templates right away! Today, we’re excited to share three brand-new custom templates created to help build:
- The Standard Ecommerce dataLayer
- Enhanced Ecommerce dataLayers
- The GA Product Array (Standard & Enhanced)
All three of these templates can be found within the official Tag Manager Community Gallery, making it easy to add them directly into your existing Google Tag Manager container. While these templates are intended to simplify the process of configuring ecommerce tracking within Google Analytics, we recommend having developers handle the configuration process to ensure they follow Google’s development guidelines. If you’re looking for support, the Wpromote Digital Intelligence Team can review your needs and scope a project to build out these custom solutions (amongst many others) for your organization.
If you’re looking to go solo, more power to you! Here are step-by-step instructions that demonstrate how to set up each custom template.
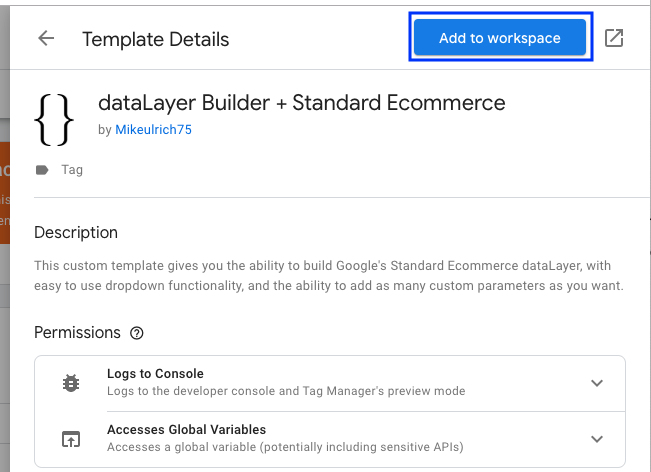
dataLayer Builder + Standard Ecommerce:
Whether you are pushing Google’s standard ecommerce parameters on a confirmation page or just want to push custom parameters for use on any pages, this custom template will simplify and standardize the way you build your data layers. It will take literally a few minutes to set up any data layer with this template.
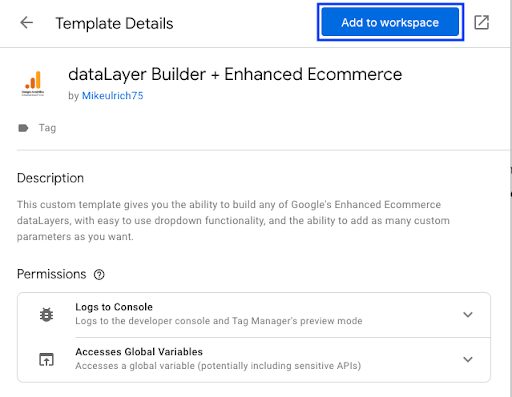
Step 1. Download the tag template directly into your GTM account from the template section.
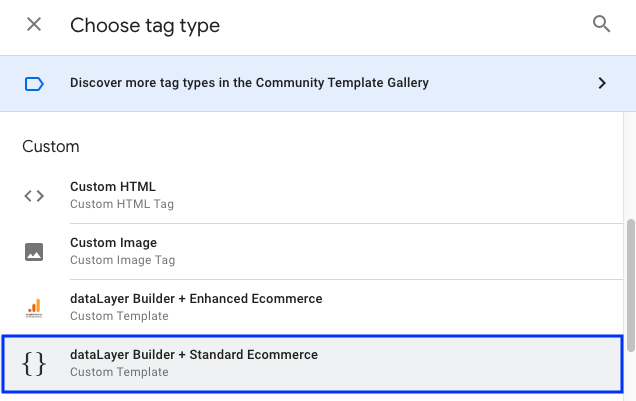
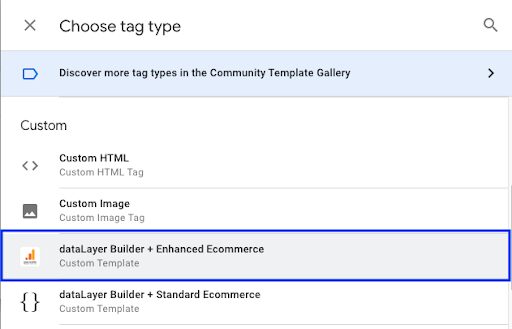
Step 2. Create a new tag and select the newly added custom template.
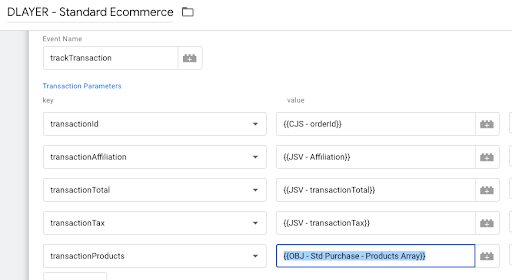
Step 3. Once the new template tag is open, add your data layer’s Event Name.
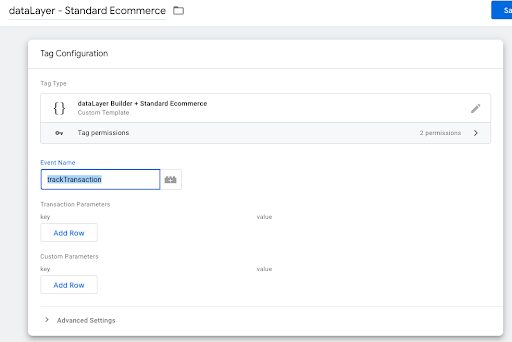
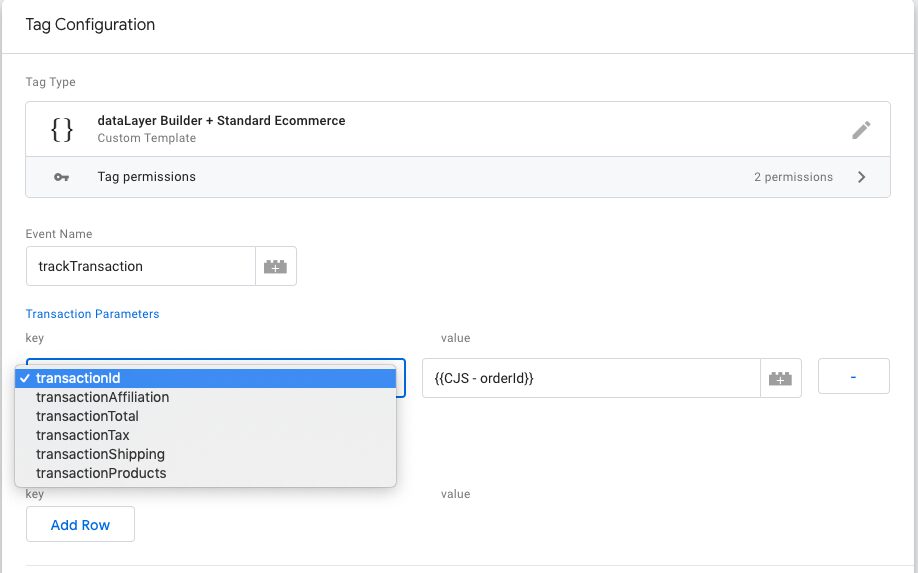
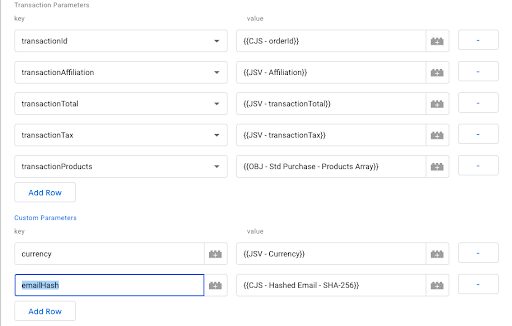
Step 4. Select and add all available Transaction Parameters.
Step 5. Add any additional Custom Parameters to your data layer.
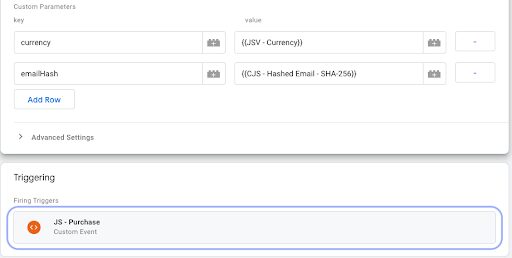
Step 6. Add your trigger.
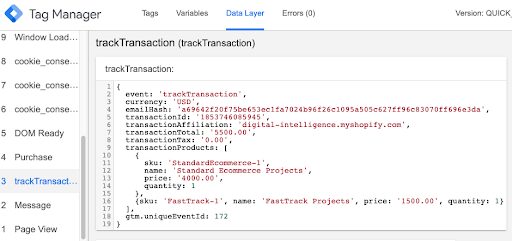
Step 7. Test the data layer to ensure it correctly fires with all your data.
dataLayer Builder + Enhanced Ecommerce:
This custom template will simplify and standardize how you build every data layer required to fully set up Enhanced Ecommerce. While this is a time-consuming process, this template will help speed up a project.
Step 1. Download the tag template directly into your GTM account from the template section.
Step 2. Create a new tag and select the newly added custom template.
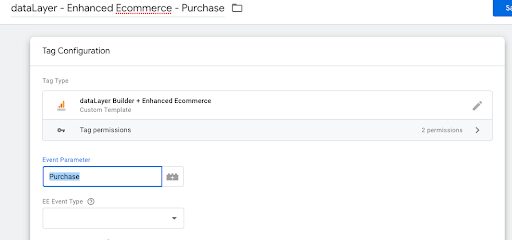
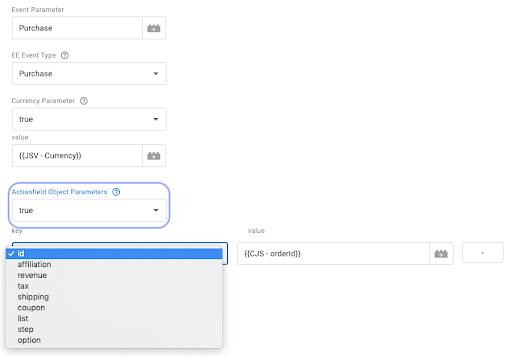
Step 3. Once the template is open, add an event name to your data layer’s Event Parameter.
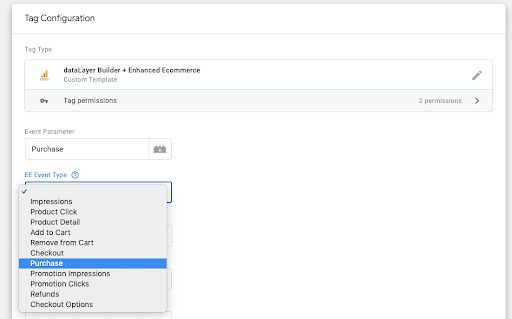
Step 4. Select your data layer EE Event Type.
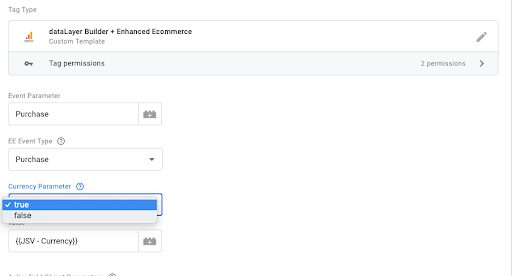
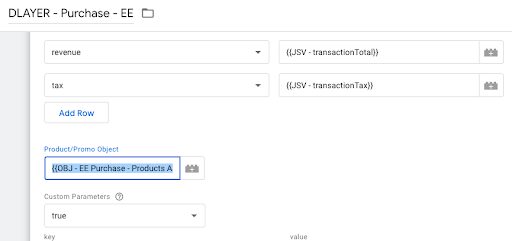
Step 5. Set the Currency Parameter if you choose to add this parameter.
Step 6. Enable the Actionfield Object Parameters when available and add all required parameters. Some data layers don’t have this option available.
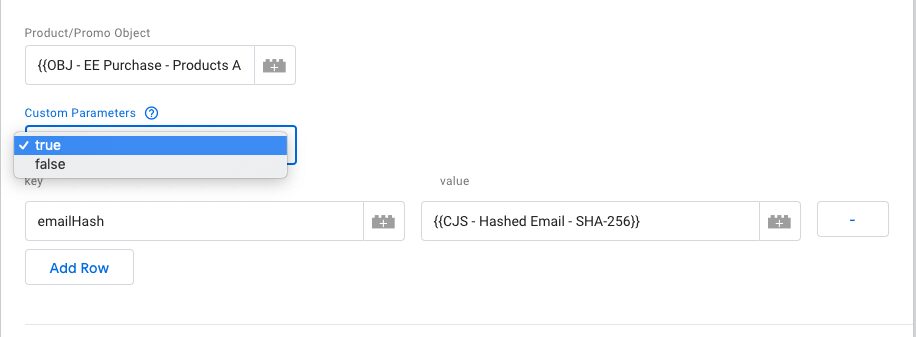
Step 7. Add the Product/Promo Object variable formatted for Enhanced Ecommerce.
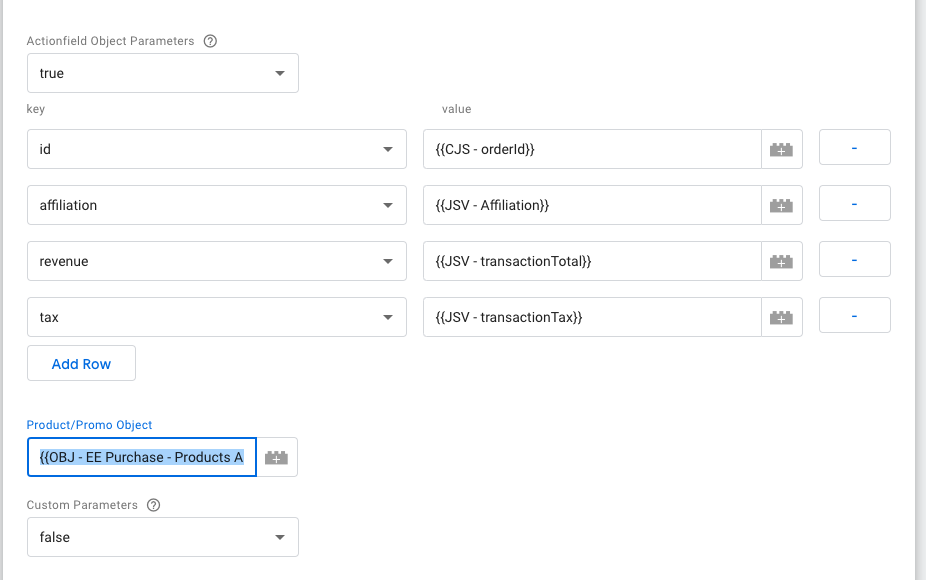
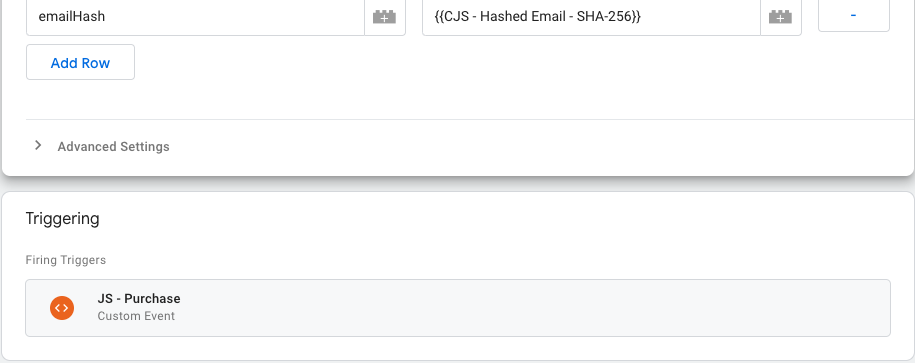
Step 8. Select “true” to add any Custom Parameters.
Step 9. Add your trigger.
Step 10. Test each data layer you create to ensure it correctly fires with all your data.
Step 11. Repeat the above steps for each Enhanced Ecommerce data layer you wish to add to your site.
GA – Product Array Mapper – Builder:
Creating a Google Analytics product object that is formatted correctly for each ecommerce type requires some research. This template will help you create a new product object variable that maps the data from your original product object into a new one. This variable is compatible with the standard and enhanced ecommerce data layer builders above.
Step 1. Download the variable template directly into your GTM account from the template section.
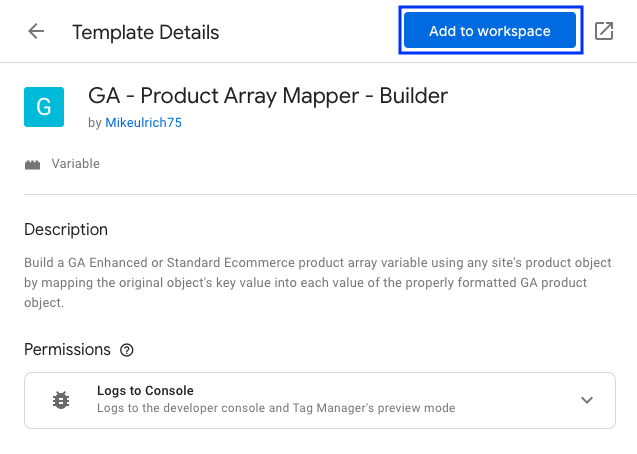
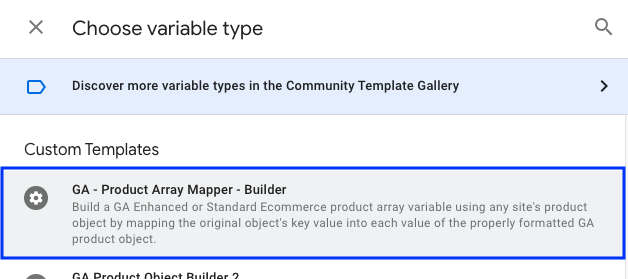
Step 2. Create a new variable and select the newly added custom template.
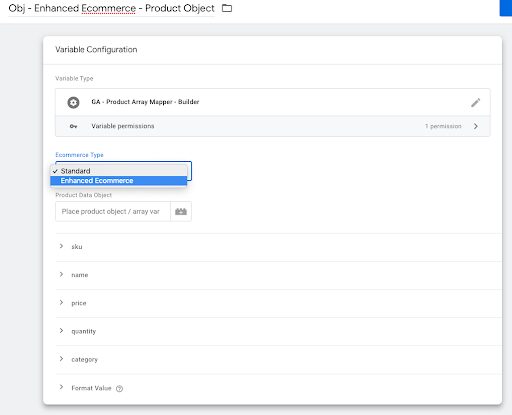
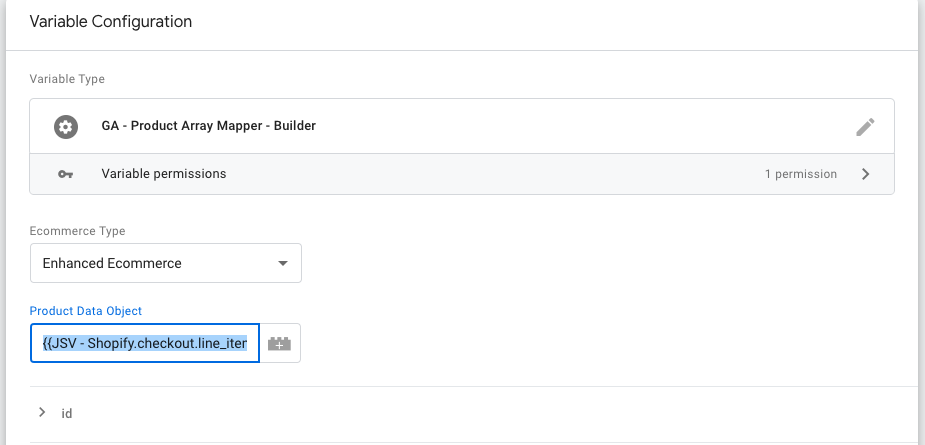
Step 3. Once the template is open, set your Ecommerce Type.
Step 4. Locate your site’s Product Object and identify every parameter name you wish to map to the new object.
Shopify’s Product Object: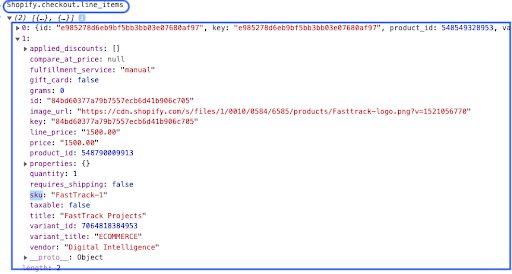
Step 5. Create a new variable that references the site’s product object above and place it in the Product Data Object field.
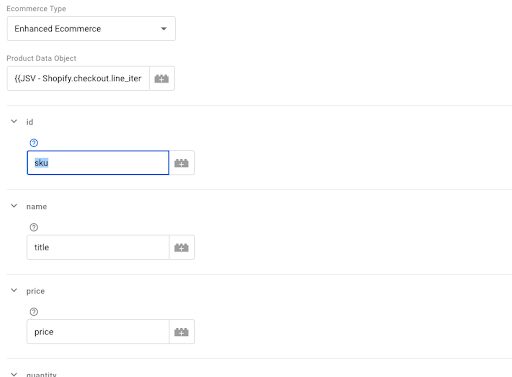
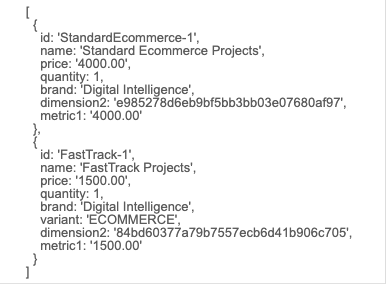
Step 6. Take all identified product parameter names from the original object and add each parameter name below the GA parameter where you want it mapped to in the new object.
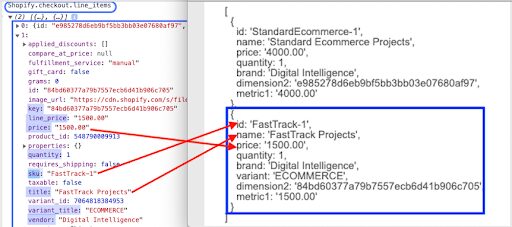
Example: See the values mapped from the original object to the new.
Step 7. Select whether you want to enable product position for each product in the data layer.
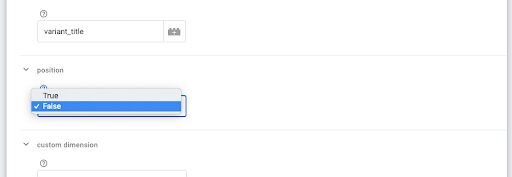
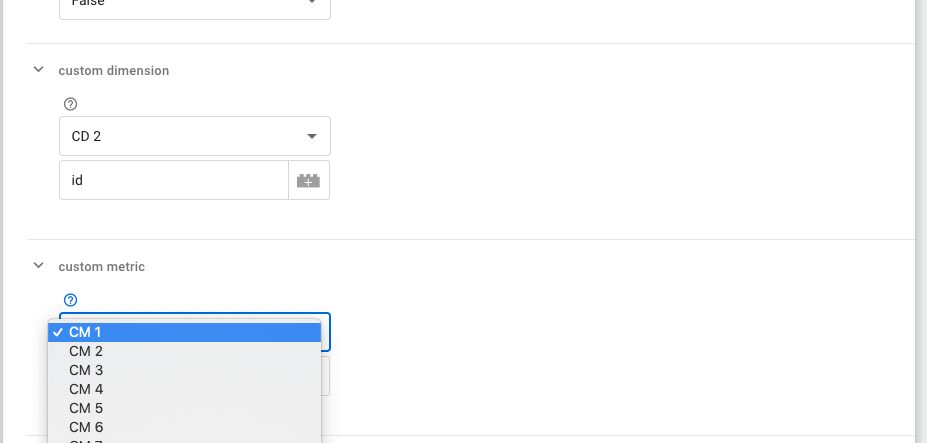
Step 8. Add a product-scoped custom dimension or metric for products in the new object if you choose.
Step 9. Test your new product object variable to see if the values properly mapped from the old object to the new object.
Step 10. Place your newly created product object variable into either your standard or enhanced ecommerce data layer.
Standard: Place the variable in the transactionProducts parameter.
Enhanced: Place the variable in the Product/Promo Object field.
If you’re still reading, thanks for sticking with us to the end of the article, we hope you find these tools useful! Please let us know if you have any feedback.
Additionally, our digital intelligence team is always working on new templates and tracking solutions so keep checking back, or reach out to us if you’re interested in working on a project together!